Creating and Setting Up a Project
Written By GoMarble
Last updated About 2 months ago
Creating Your First Project
Locate Projects in your GoMarble interface (typically in the left sidebar)
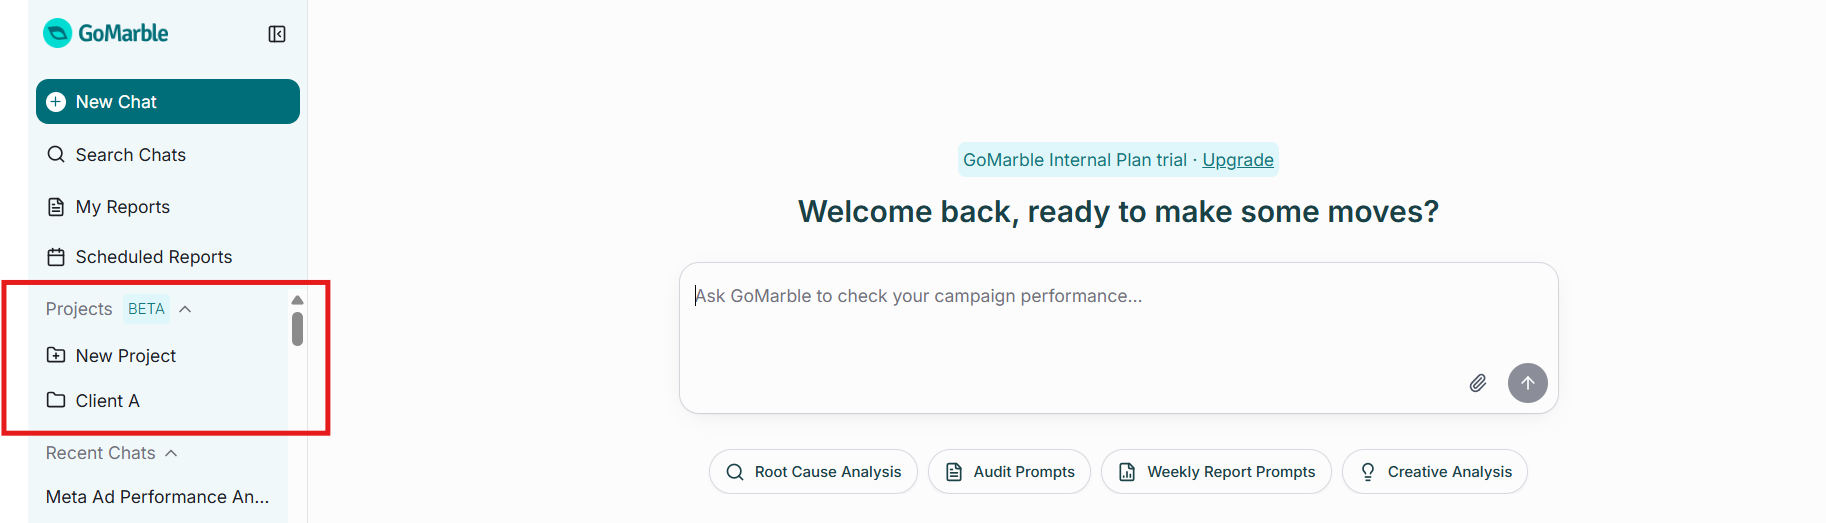
Click to create a new Project (look for "+ New Project" or similar)
Name your Project clearly and descriptively
Access your Project by clicking on it in the sidebar
Once created, your Project becomes a dedicated workspace with its own chats, reports, and settings.
Any agent created or edited from within a Project will automatically retain that Project as its scope. This means that when the agent runs — whether triggered manually via "Run now" or on a scheduled cron — it will use the Project's context and file search scope, keeping its work focused on the relevant Project data.
Organizing Existing Chats into Projects
If you already have chats and reports in GoMarble that belong together, you can easily organize them into a Project.
To move a chat into a Project:
Open any existing chat
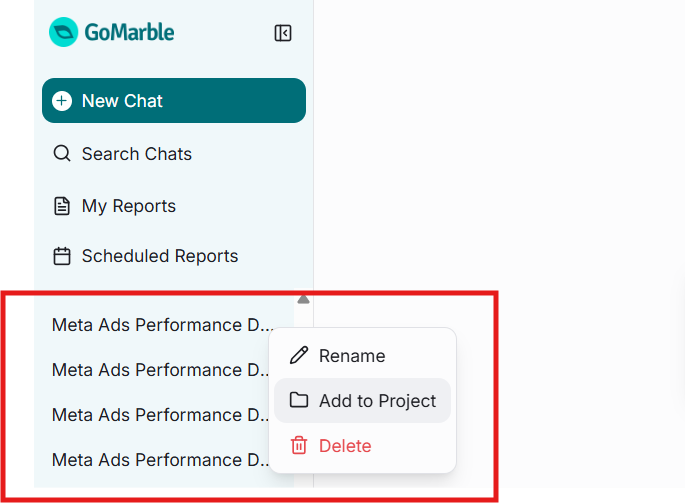
Look for the "Add to Project" or "Move to Project" option (location varies by interface)
Select the destination Project
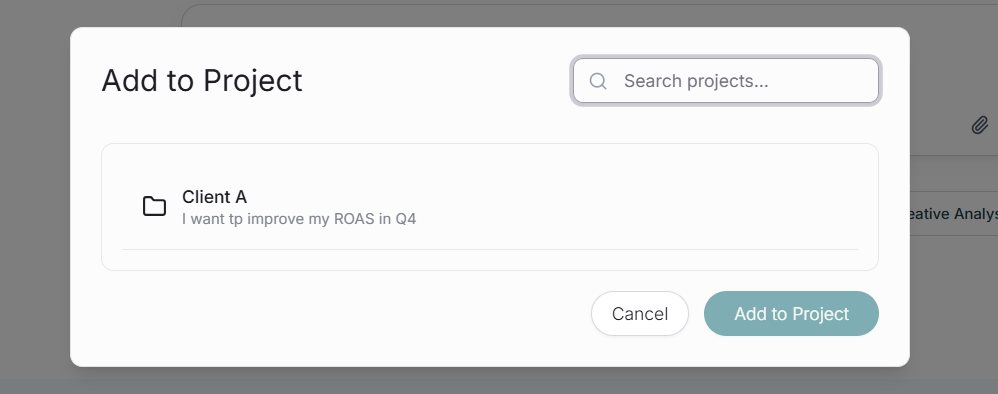
The chat immediately moves into that Project
Was this helpful?
Still need help? Share an idea