GoMarble Agents - A how to guide
Written By GoMarble
Last updated About 1 month ago
GoMarble Agents: Scheduled reports and analysis are now fully intuitive - no need to prompt manually each time you want to setup a new schedule. They've been redesigned as Agents: set them up once, and they'll deliver your ad reports and analysis straight to your email or Slack on a recurring schedule.You can start from a pre-built agent or create one tailored to your needs. This article walks you through everything you can configure and how to manage your agents once they're live.
Create New Agent
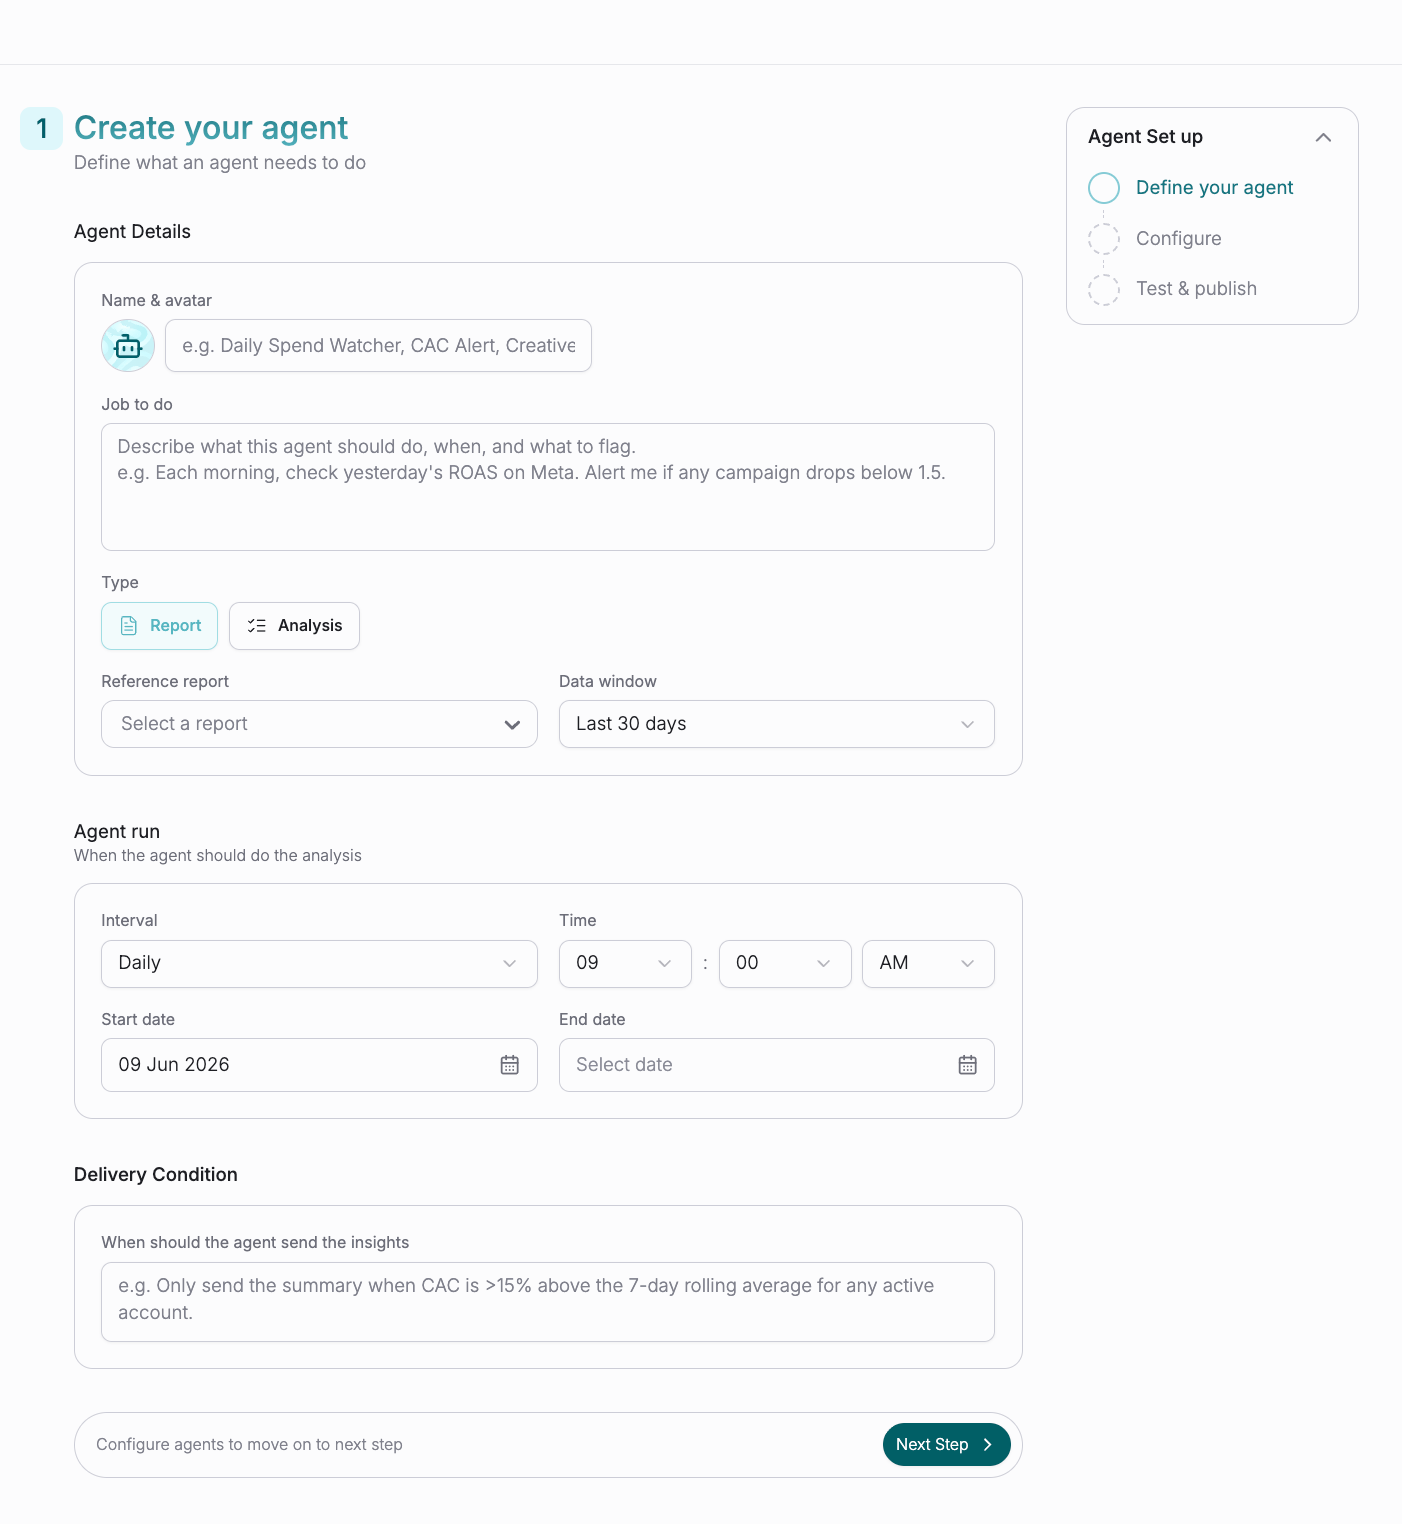
→Name & Avatar
Give your agent a recognizable name.
→Job To Do
Describe what you want the agent to analyze. Think of this as the core instruction - be as detailed and specific as possible about the metrics, breakdowns, or insights you need. The more descriptive your prompt, the more precise and consistent your reports will be. You can also use one of our preset prompts (recipes) to set this up.
Example:
"Combine Meta and Google Ads data for the last 7 days. Show overall Spend, Conversions, Revenue, and blended ROAS. Compare this to the previous week. Highlight: (a) which channel is more efficient on CPA & ROAS, (b) budget allocation effectiveness vs. outcomes, (c) recommended reallocation of spend for next week based on trends. Create a professional report with the insights"
→Type
Choose:
Report – summarizes performance data
Analysis – provides insights, trends, and recommendations
→Reference Report (Optional)
Use an existing report or template as a starting point.
→Data Window
Select the period of data to analyze:
7 days
14 days
30 days
90 days
Need a custom date range?Specify it in the Job To Do field and mention that it should override the Data Window setting.
→Agent Run Schedule
Choose when the agent should run:
Frequency
Time
Start Date
End Date
Note: Based on the type of outcome, report/analysis, this agent will run for the frequency selected. You can leave the end date blank if you are unsure of how long this should be run for.
Note: Your plan determines the fastest schedule frequency available. If you select a cadence faster than your plan allows, the agent will not be saved. To access higher-frequency scheduling, please upgrade your plan.
→Delivery Condition (Optional)
Only send the report or analysis when specific conditions are met.
______________________________________________________________________________
Note: If you select one of GoMarble's preset agents, you'll land directly on this page. The agent's prompt and configuration will already be pre-filled, and you can review or customize the settings before publishing.Step 2: Configure Your Agent
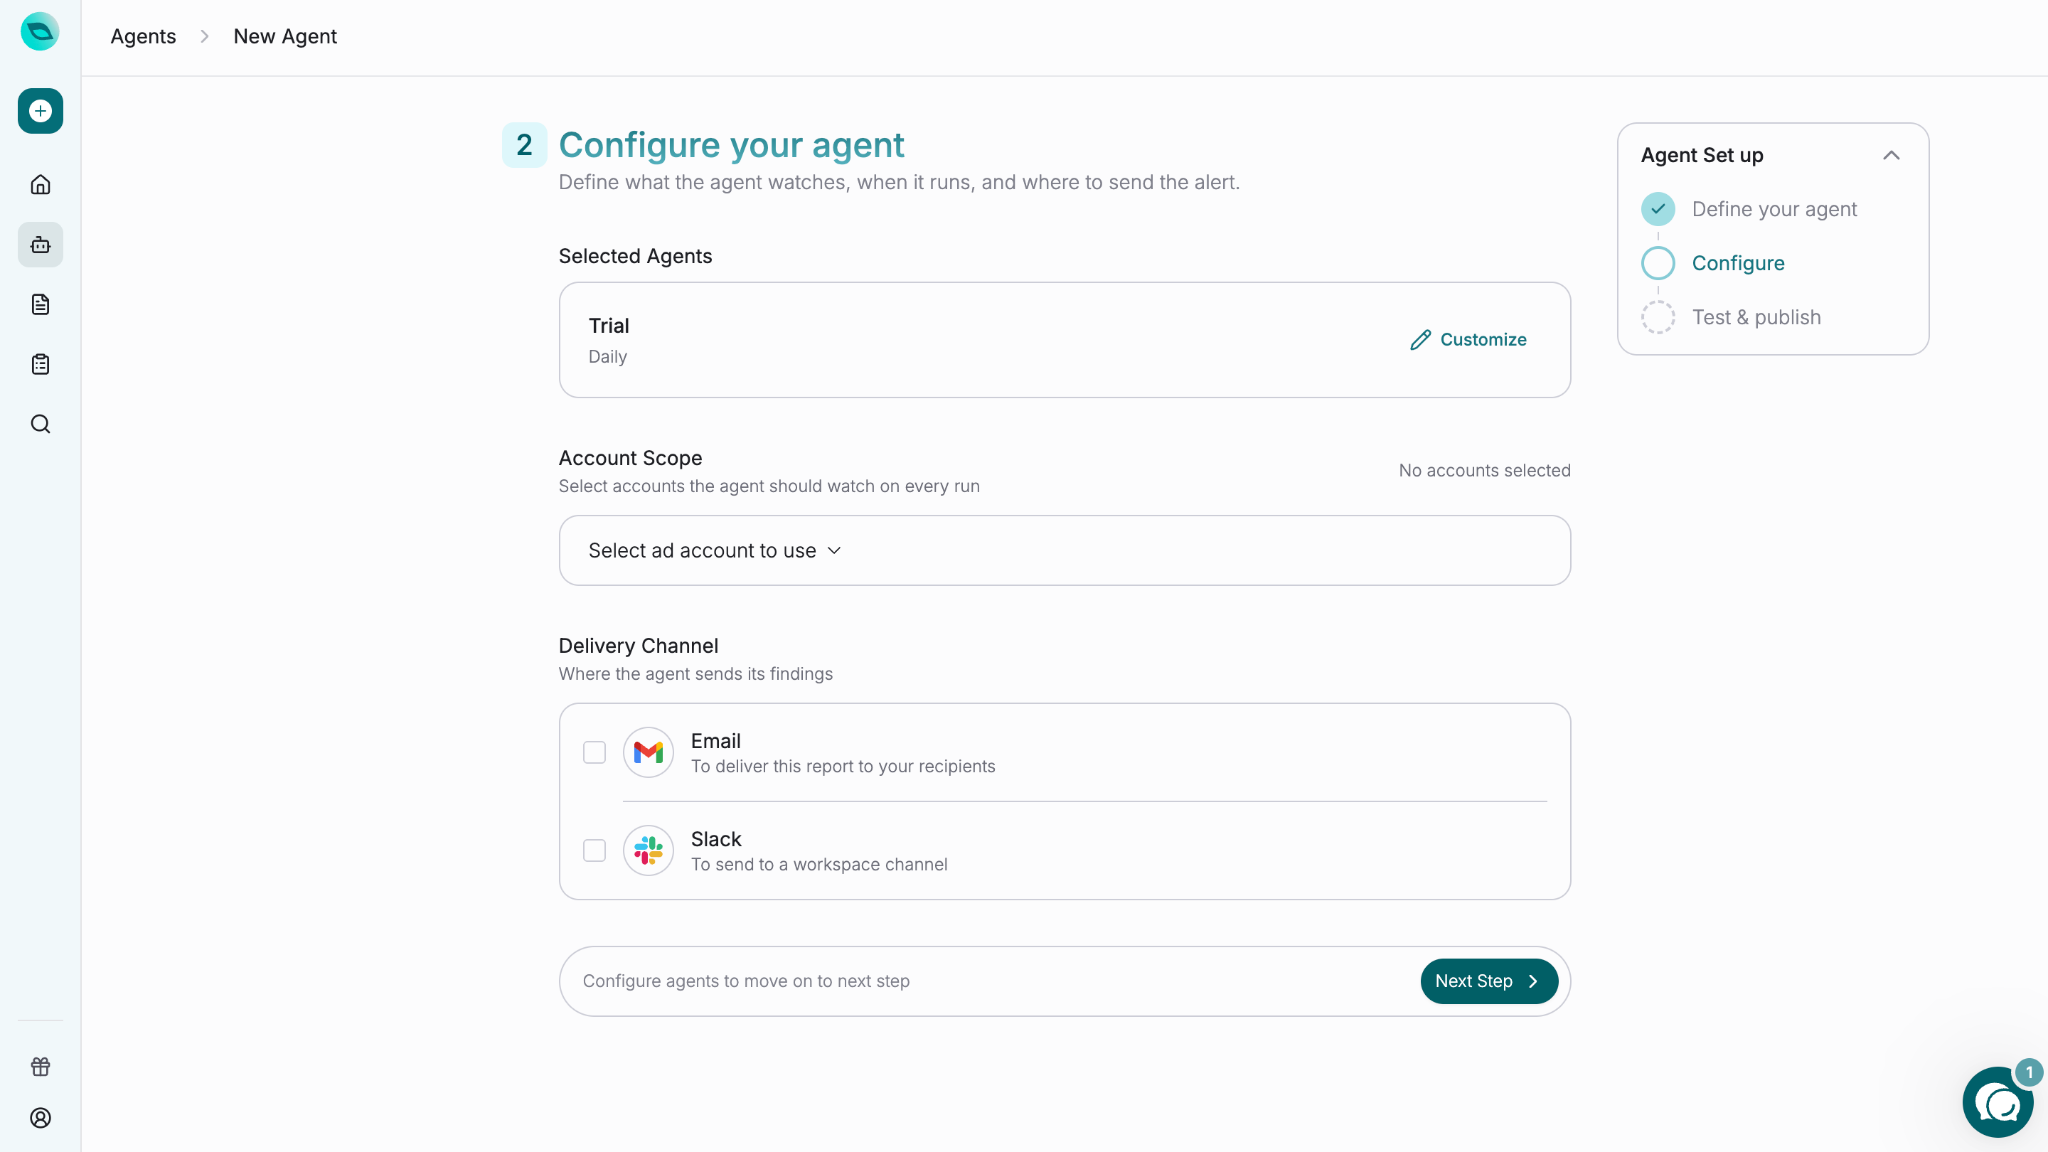
→Account Scope
Select which connected accounts the agent should analyze.
→Delivery Channel
Choose where you'd like to receive results:
Email
Slack
→Intelligence Level
Set the intelligence level for this agent using the same dial available in the chat composer. This controls the AI model used when the agent runs.
New agents default to your chat intelligence level setting.
You can update the intelligence level at any time by editing the agent.
→Agent Learning
A toggle that lets this agent remember what its past runs found and did. When turned on, scheduled runs record their activity, and future runs are given that recent history — so the agent can say "still open, day 3" instead of reporting the same thing as new, and stop retrying a connection it already knows is broken.
Off by default — nothing is remembered until you turn this on. You can enable or disable it at any time by editing the agent.
______________________________________________________________________________
Step 3: Test & Publish→ Review and Publish your agent
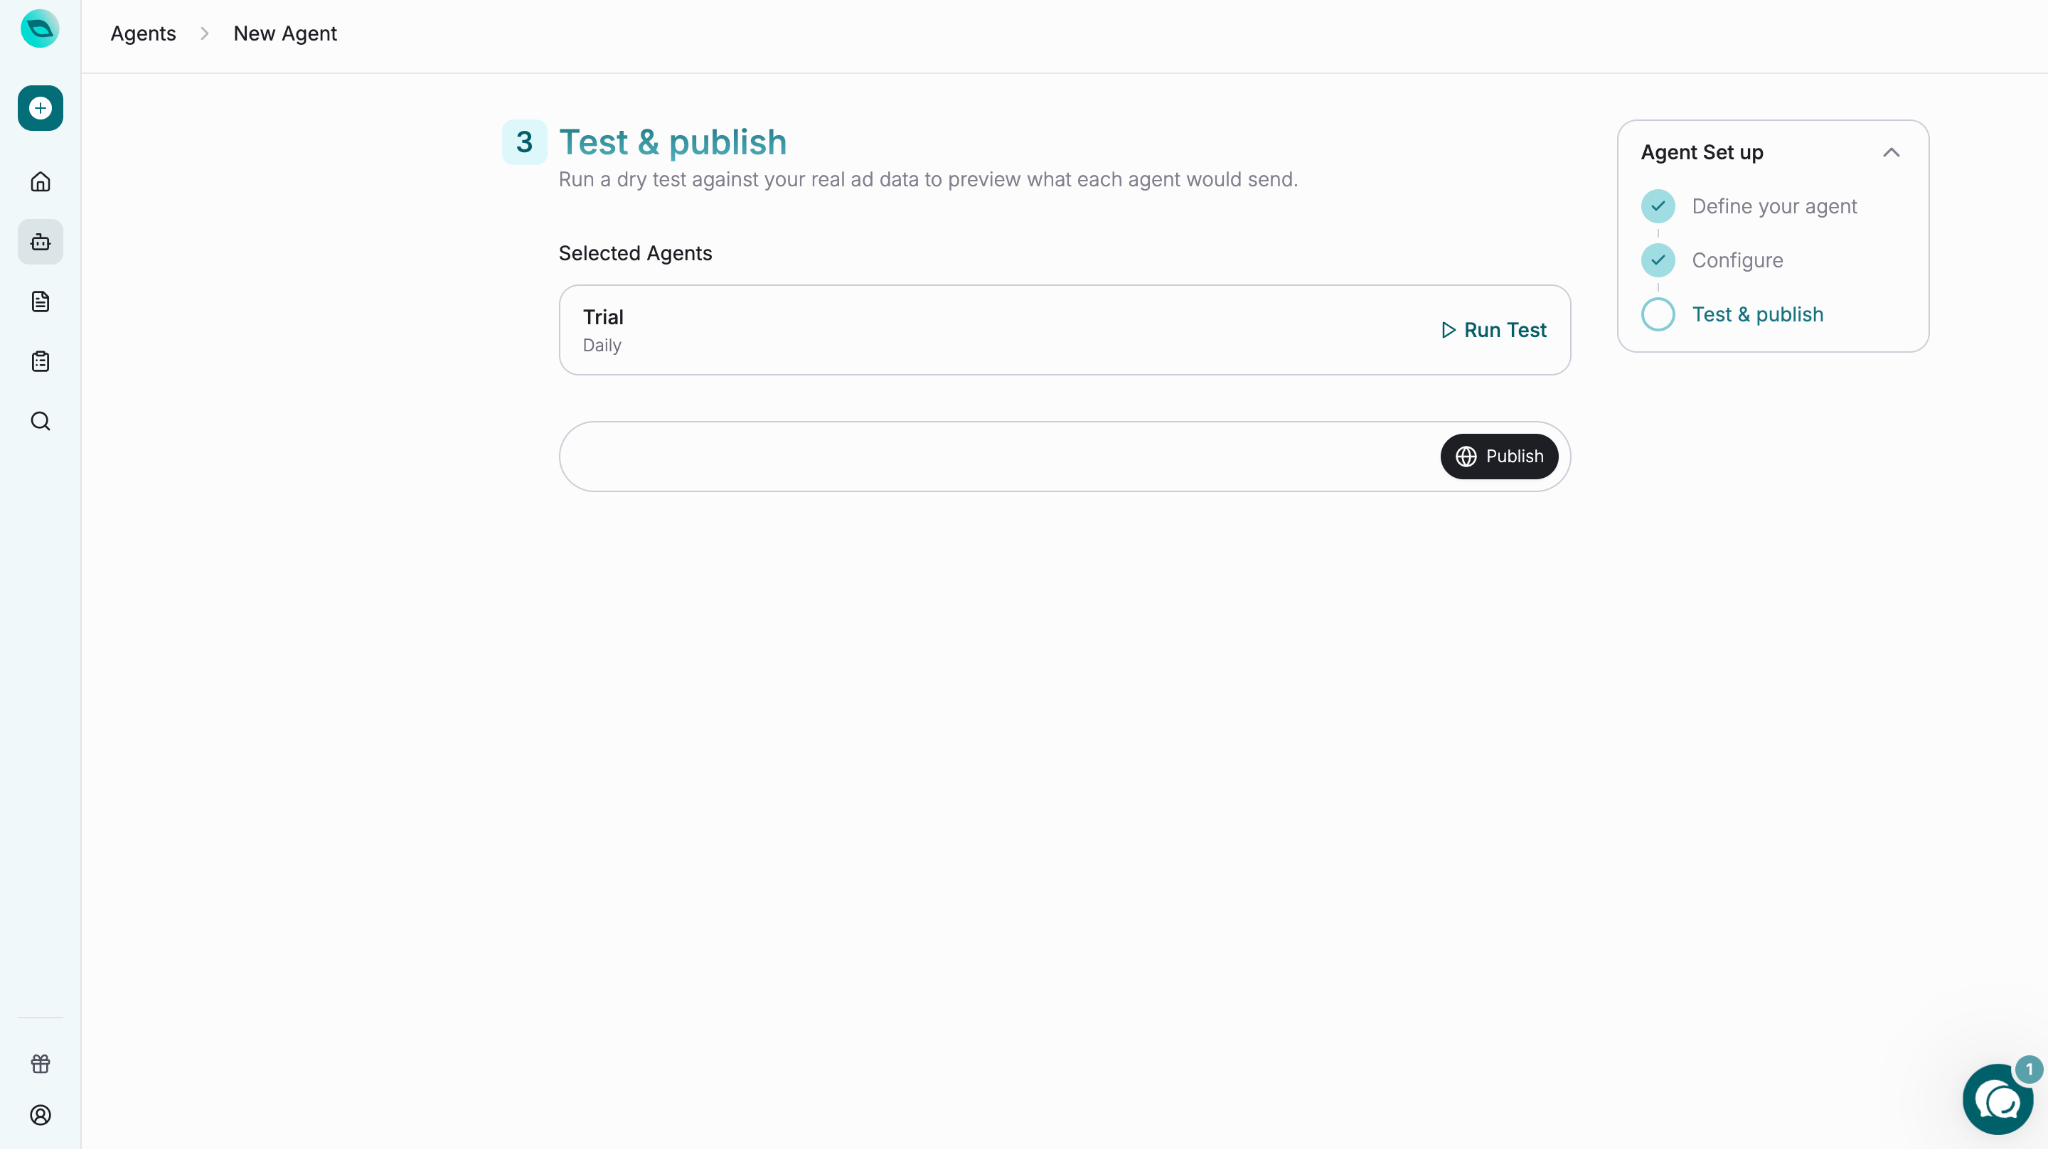
P.S. If you'd like to run a test, you can choose to do so here, if not you can proceed to click Publish.
______________________________________________________________________________
Pause or Stop an Agent
You can stop an agent in three ways:
Set an End Date
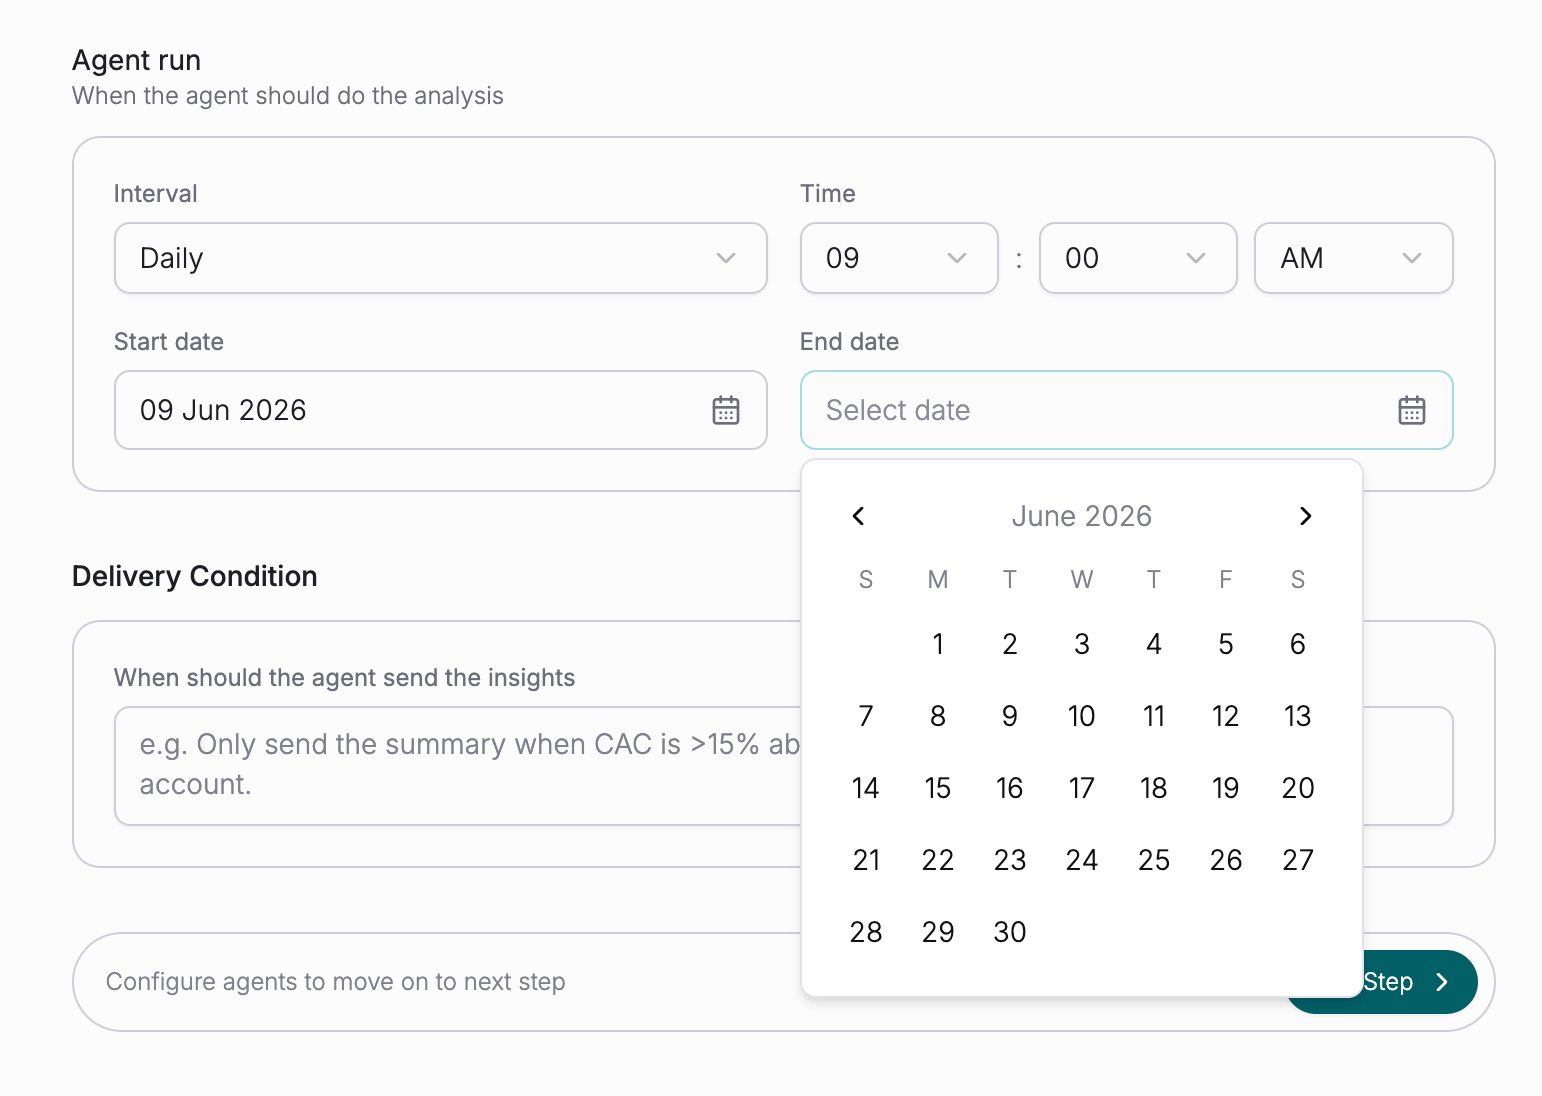
Pause the Agent
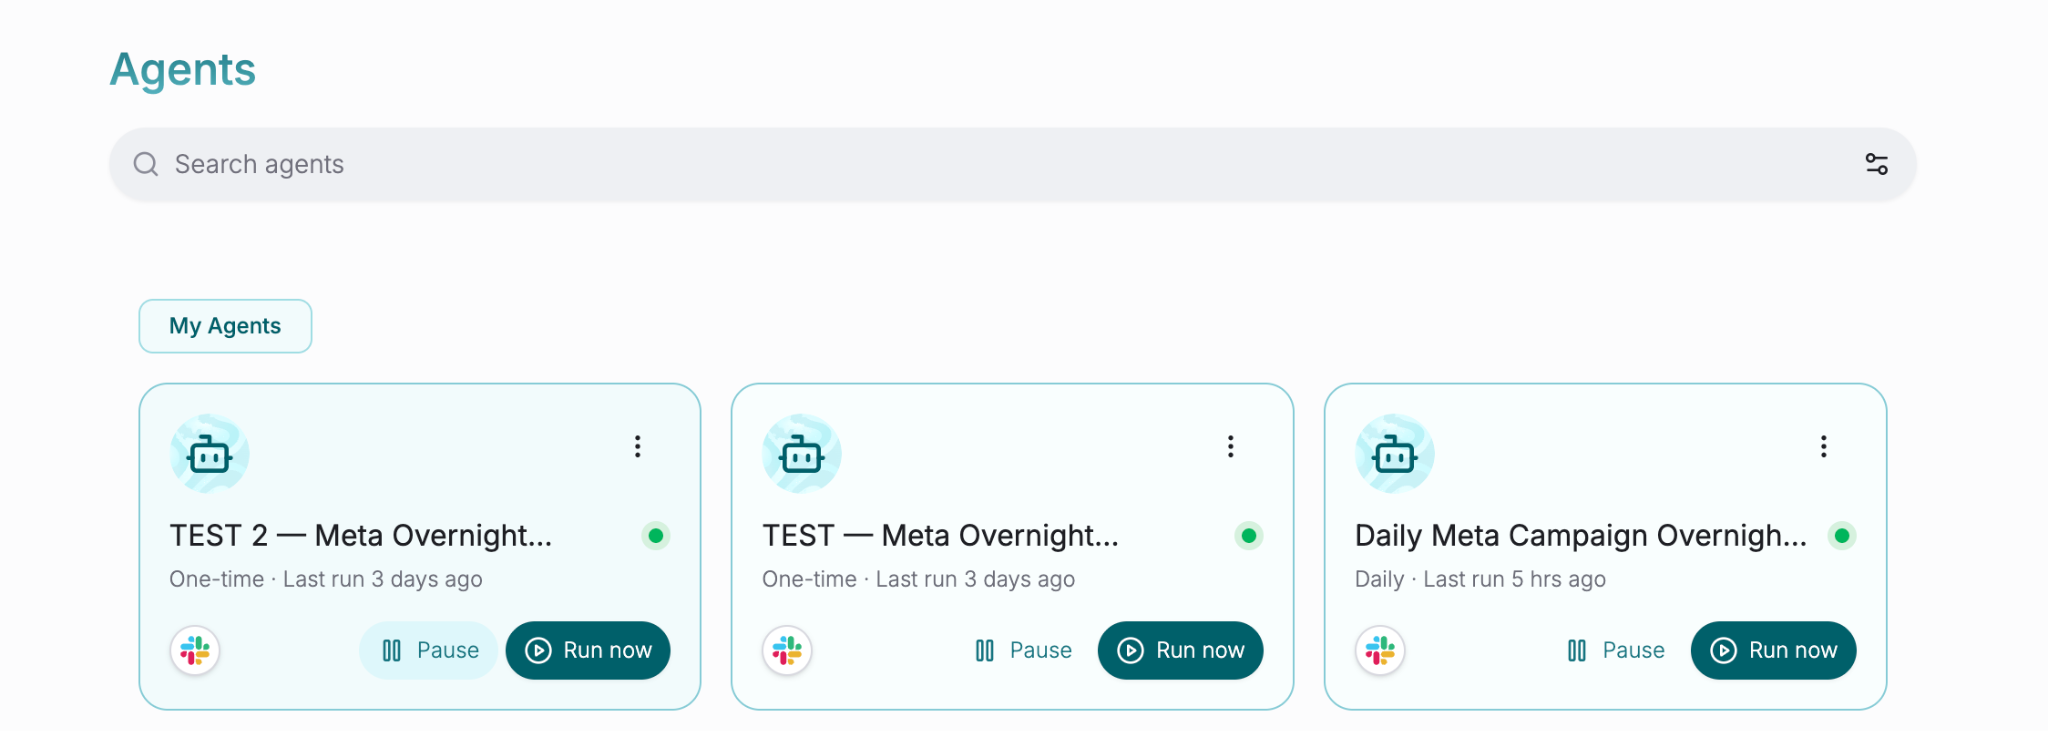
Note: Pausing an agent is always available regardless of your plan. You can pause at any time and resume when ready.
Delete the Agent
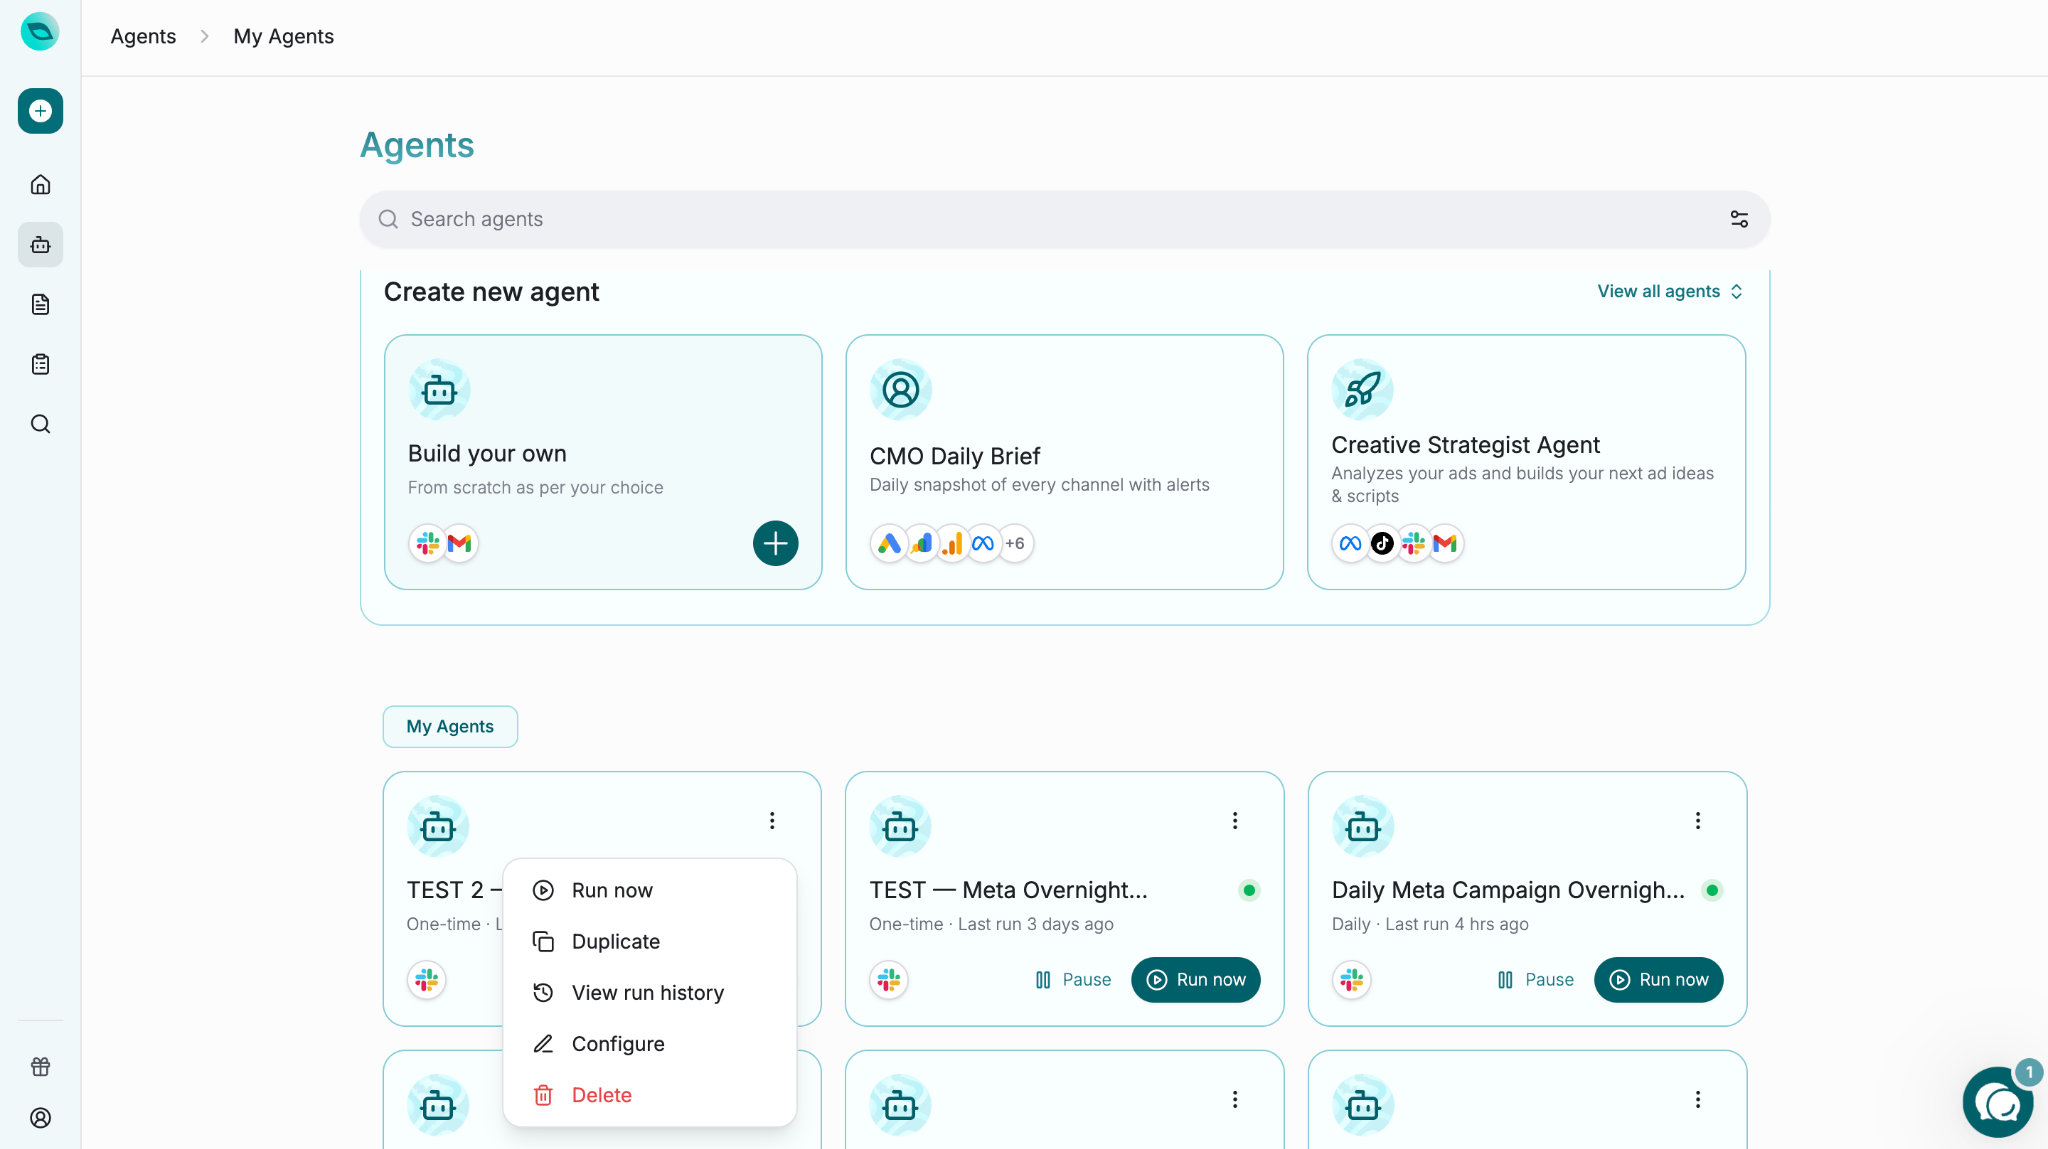
Agent Limits (Governance)
If your team has agent governance enabled, each agent has an Agent Limits panel on its detail screen. This panel shows the policy currently in force for that agent and lets you update it at any time — you no longer need to go through the create wizard to change these settings.
What you can configure
Allowed Actions — the set of actions the agent is permitted to perform. At least one action must be selected; leaving this list empty is not allowed and will prevent saving.
Budget Cap — the maximum spend the agent may authorize in a single run.
Approval Mode — controls whether the agent can act autonomously or must wait for a human to approve each action.
Editing the policy
Open the agent detail screen and locate the Agent Limits panel. Make your changes inline and click Save. The Save button is disabled if Allowed Actions is empty.
Note: Duplicating a governed agent is only available to teams entitled to agent governance. If your team is not entitled, the duplicate option will be blocked to prevent publishing an unrestricted copy of a governed agent.
Note: If your account has had no chat activity for 28 days, GoMarble's predefined automated agents will be skipped on their next scheduled run. Agents you create yourself — both prompt and report agents — are not affected by this inactivity check and will continue to run on their configured schedule regardless of chat activity.
Was this helpful?
Still need help? Share an idea